Visual Quality - Advanced approval
By default, Visual Quality uses Simple Approval of documents and registration folders. This approval process only contains one user, or approver. Advanced Approval involves one or more users, or approvers. This page gives a detailed introduction to this type of approval process in Visual Quality.
Advanced approval can be activated in System Administration. Configure Advanced Approval as shown below.
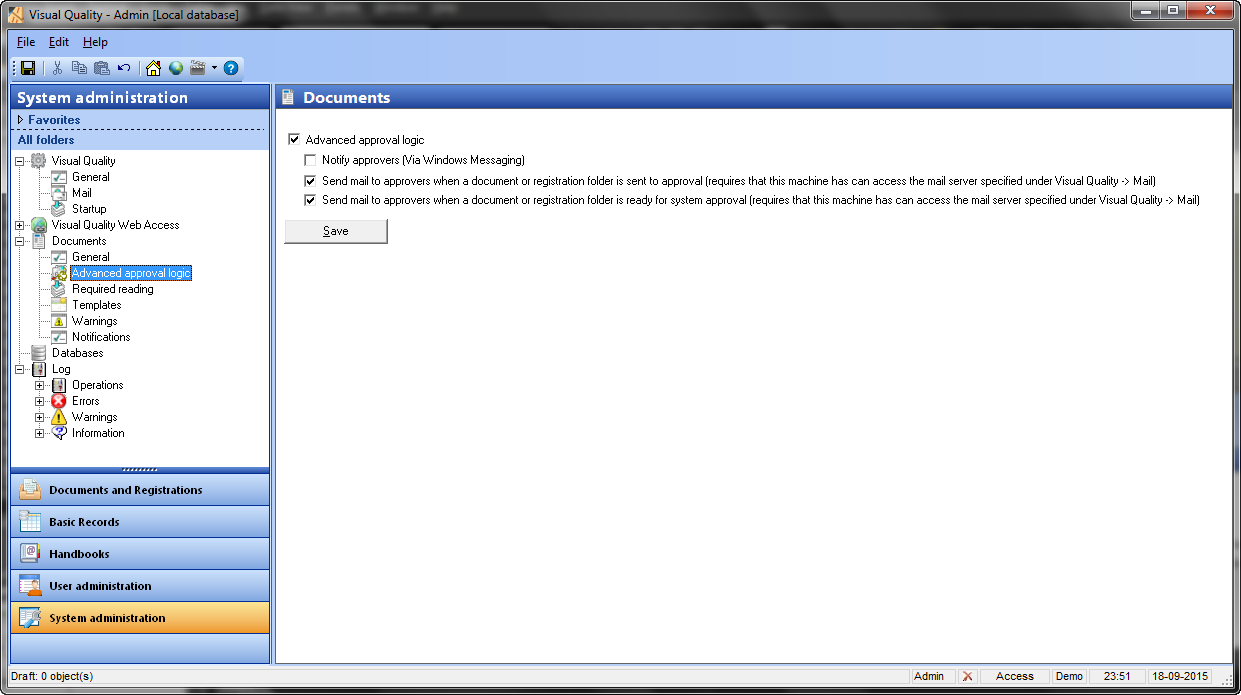
Click Save. Now restart Visual Quality, select a draft document and right-click to access the context menu for the document:
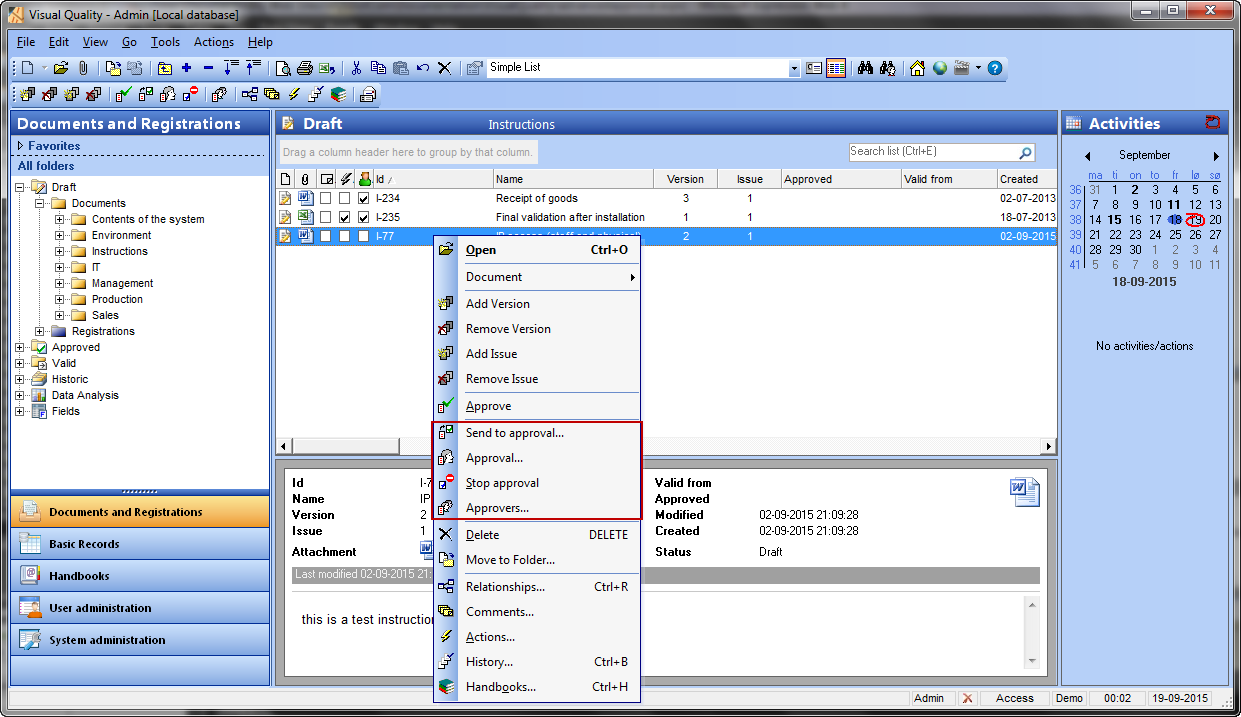
Below are the steps involved with advanced approval.
Associate approvers
First, you will want to add approvers to the document. Select a draft document and click Approvers... in the context menu: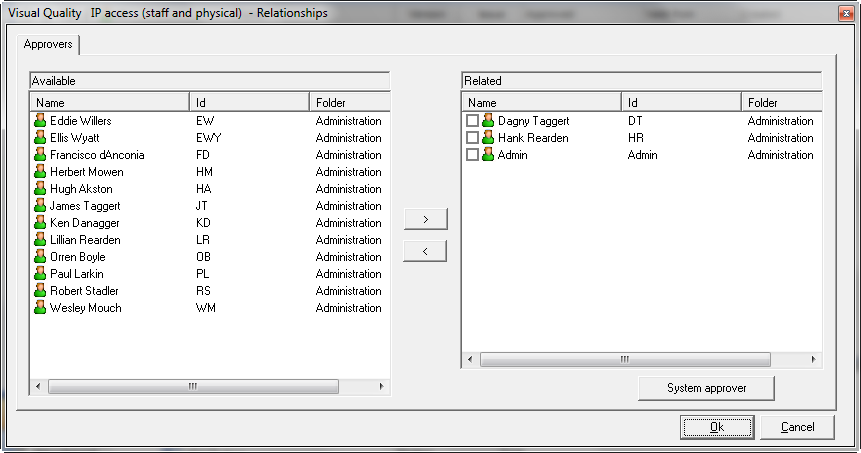
By using the buttons < and > you can remove approvers from the selected document and add approvers to the selected document. In the example the document has 3 approvers associated. These approvers are called Document Approvers. One of these can be a System Approver, which is the approver who is responsible for the final approval of the document (more on this later).
You can specify the system approver by selecting a document approver in the list and click the button System approver.
Send to approval
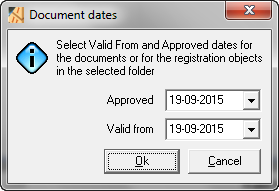
Once you have associated one or more approvers, you can send the document to approval. Click Send to approval... in the context menu. The document dates dialog appears:
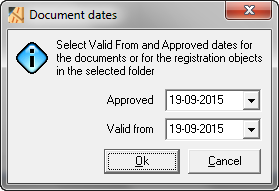 |
The dialog shows the two dates which were specified in the data sheet for the document. If none were specified, the dates will be today's date.
Approved. This is the approval date for the document, i.e. the date when the document becomes approved. This date can be before today's date, on today's date or after today's date.
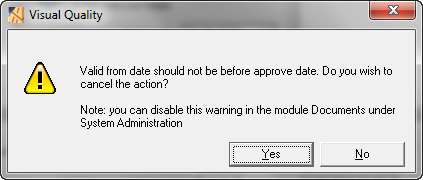
Valid from. This is the date when the approved version becomes valid. There can only be one valid version of a document. As is the case for the approval date, you can choose any date. However, it is not recommended to specify a date which is before today's date or which is before the approval date:
 |
 |
Select today's date for both date and click the Ok button.

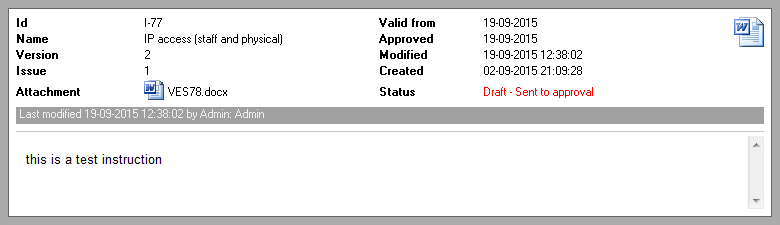 |
Documents with this status cannot be changed. Data in the data sheet are all read-only, the attachment cannot be changed or removed and you cannot change the document's relationships.
You can, however, add comments and actions for a document, regardsless of it status.
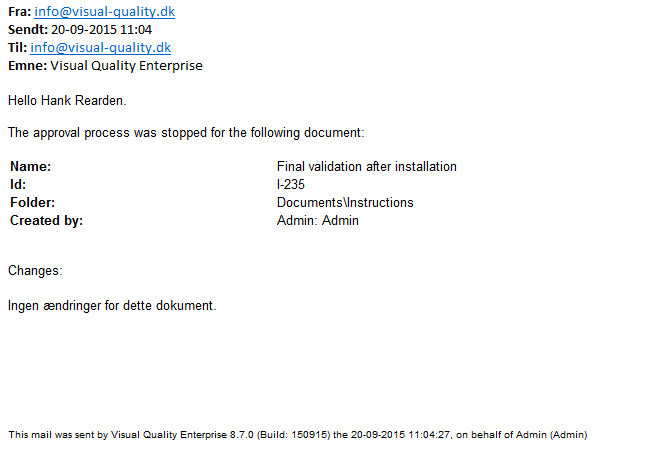
If you have configured Advanced Approval under System Administration as shown above, the 3 approvers will receive an email like the one below:

Approval
For the document to be approved, all 3 approvers must approve it. Alternatively the System Approver for the document can approve the document on behalf of one for more of the document approvers.The 3 document approvers can now log on to Visual Quality and approve the document:
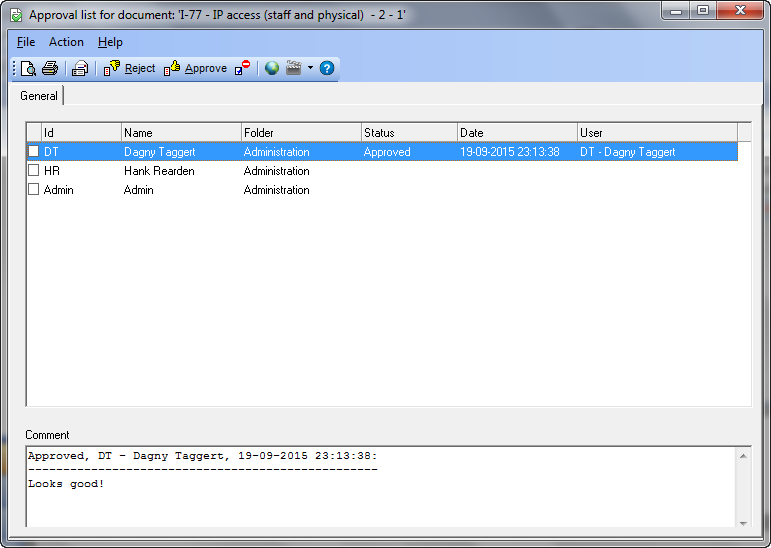
Approver 1 (DT) logs on, selects the document and chooses Approval... in the context menu for the document:
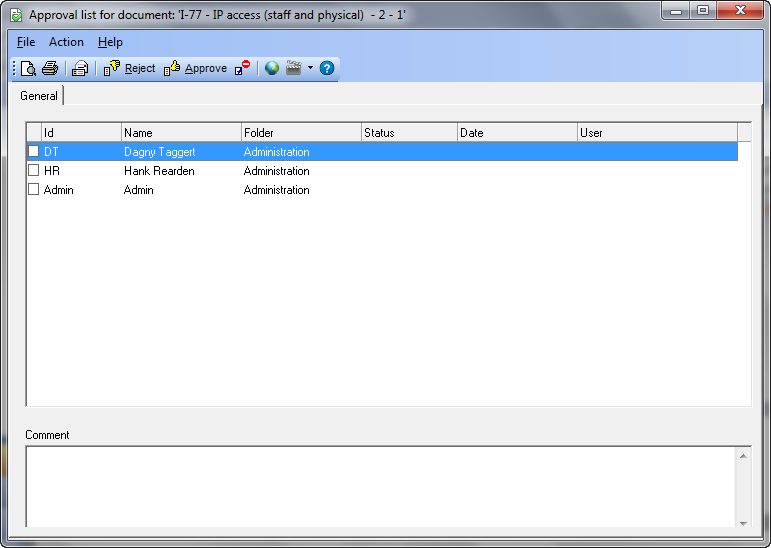 |
The approver can choose to reject or approve the document by selecting Reject or Approve in the toolbar.
Note: if any of the approvers reject a document the approval process stops, and the document changes status to draft.
The document approver approves the document:
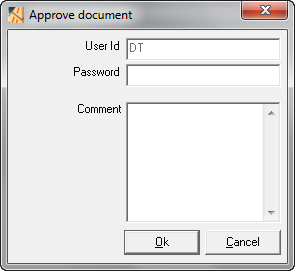 |
The document approver acknowledges the approval by entering her password and perhaps adding a comment to the approval.
 |
Approver 2 (HR) logs on and follows the same procedure as the first document approver.
Approver 3 (Admin) logs on a chooses Approval... in the context menu for the document, and clicks Approve in the toolbar:
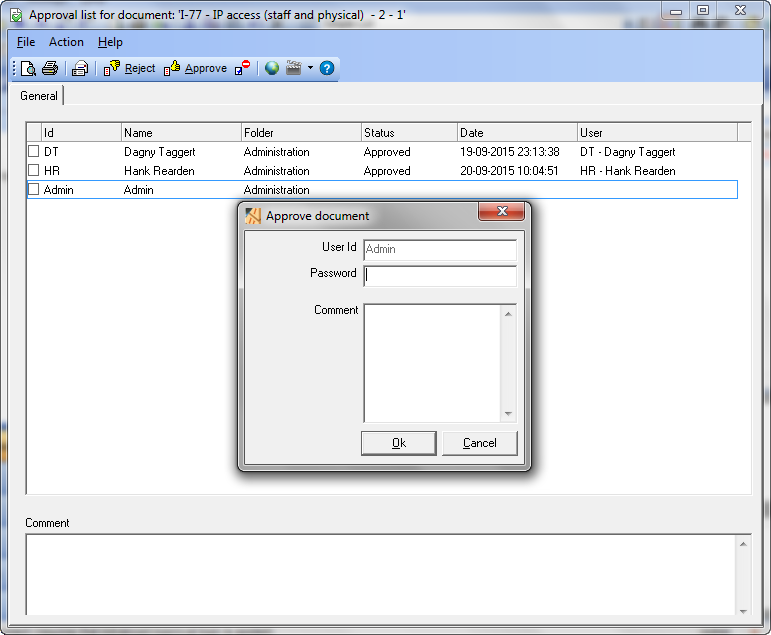 |
Admin acknowledges the approval by entering his password.
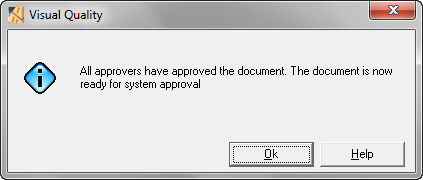 |
As the message says, all document approvers have approved the document which is now ready for system approval.
Since we didn't select a system approver for the document, any of the document approvers can do the final (system) approval of the document.
After clicking Ok, Admin is returned to the main window:

As the picture shows, the document is now shown in blue, which indicates that it is now ready for system approval. When selecting the document in the list, the reading panel below shows the document's status:
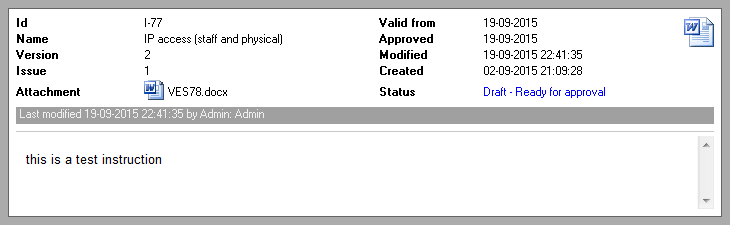 |
Admin (or any of the other document approvers) can now do the final approval of the document by selecting Approve in the document's context menu. Again the dialog showing the document dates appears:
 |
u |
This allows the approver to make any final changes before the approval. Admin clicks Ok. Now the document is approved and a new draft version is automatically created.
Stop the approval process
Any of the document approvers can stop the approval process for the document by clicking Stop approval in the context menu for the document: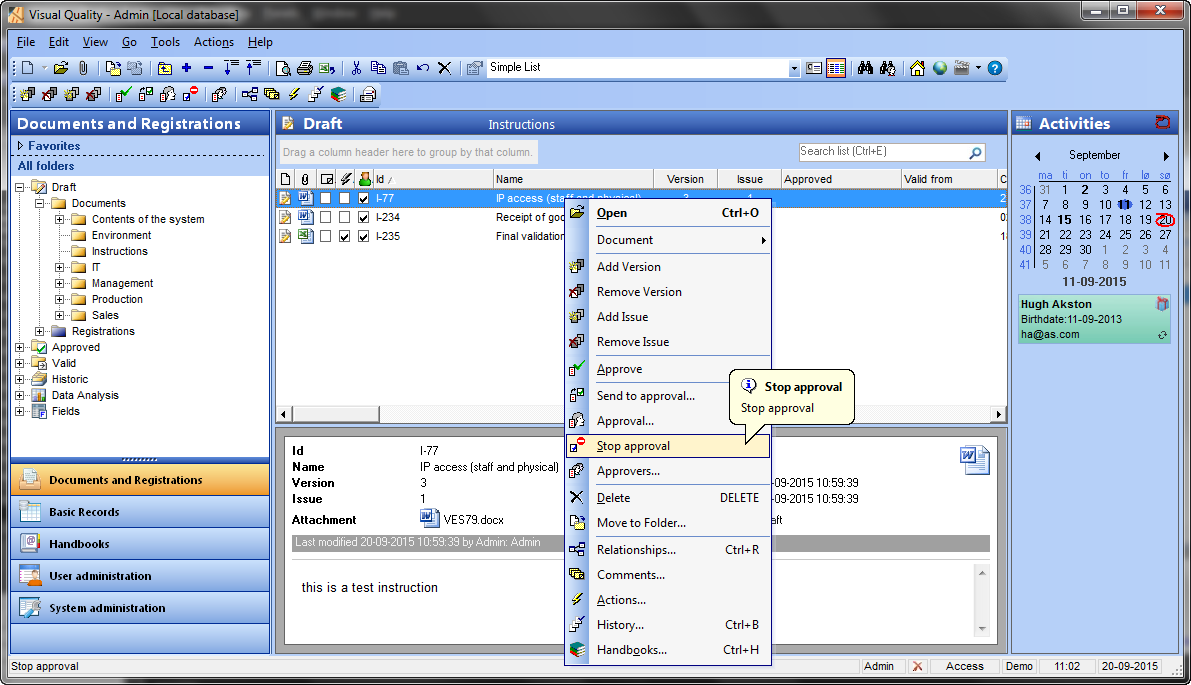
By stopping the approval process, all approvers for the document receive an email: