


Getting Started
Welcome! This page guides you through some of the most important areas of Visual Quality; from installation and configuration of Visual Quality Web Access, to creating and approving your first document. In the process we create a handbook, add the document to it, and we create and configure Visual Quality's web application, Visual Quality Web Acccess so that we can access the valid version of our document using a web browser.
Overview
|
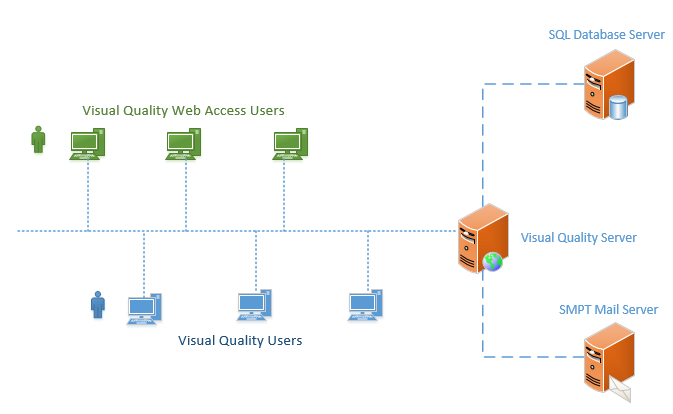
The diagram above shows a typical client/server installation of Visaul Quality Enterprise. The same installation program is used on the client machines (shown in blue) as on the server. On the server machine you can use Visual Quality to create and configure Visual Quality Web Access as a Web Application in Internet Information Services (Microsoft's Web Server).
For the other type of Visual Quality users, Visual Quality Web Access users, only a web browser (shown in green) is required. On the server, you will typically also install Visual Quality Alert Service, a Windows service which monitors the system and notifies users about documents, actions, reminders, etc. using an SMTP Mail Server. This mail server can be installed on a separate machine, or on the Visual Quality server or it can be an external mail server. Likewise, in case you choose Microsoft SQL Server as database, this can be installed on the Visual Quality server ifself, or on a separate server.
1. Installation
To make it easier to follow along, we recommend that you start by
installing Visual Quality Enterprise on your computer.
Please following the instructions shown
here.
You can either choose to run Visual Quality in single-computer mode or as a client/server installation as shown above. In case you choose a single-computer installation, you can skip the following section.
2. Installation in a client/server setup
Installation of Visual Quality on the server is identical to the installation on the client computers, see above.After installation you can configure Visual Quality on the client machines to use the VQ Server (i.e. use the database and the documents on the server machine).
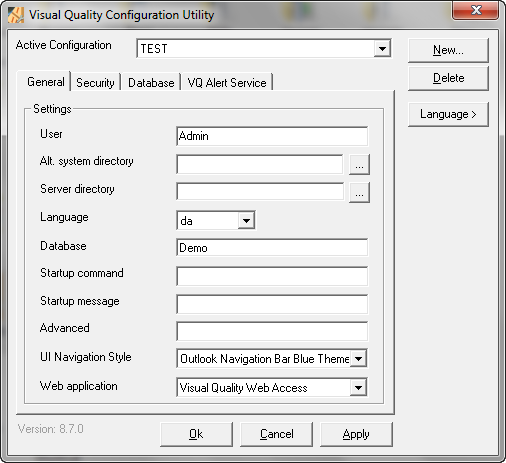
On the client machine, search for Visual Quality Configuration Utility in Windows Start menu and click the menu item to open Visual Quality Configuration Utility:
|
In the field Server directory, specify the UNC path to the Visual Quality installations directory on the server. If the name of the server machine is vqserver and the share to the VQ installation directory is called vqe, then the Server directory is \\vqserver\vqe.
Click on the Database tab:
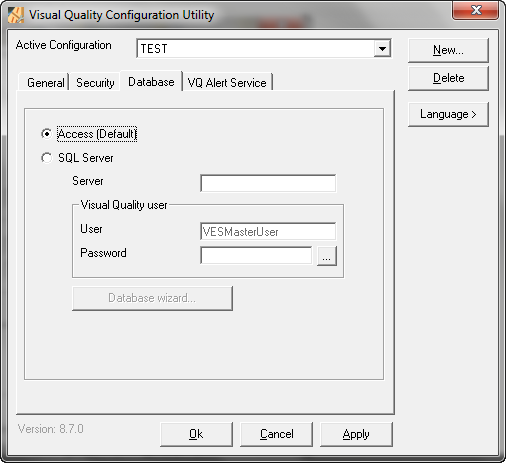 |
Select Access as database. Click Ok.
Visual Quality on the client machine is now "connected" to Visual Quality on the server machine.
It is now time to create your first document in the quality management system.
3. Create your first document in Visual Quality
From the Windows Start menu, find and select Visual Quality. The first you will see is the login dialog:
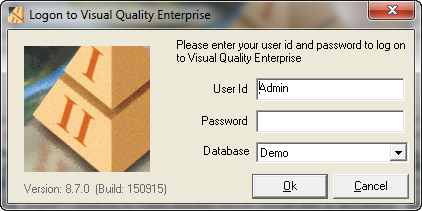 |
Log on with User Id: Admin and Password: Admin.
After clicking Ok the Visual Quality main window is
shown.
In the module Draft navigate to the folder Instructions and right-click:
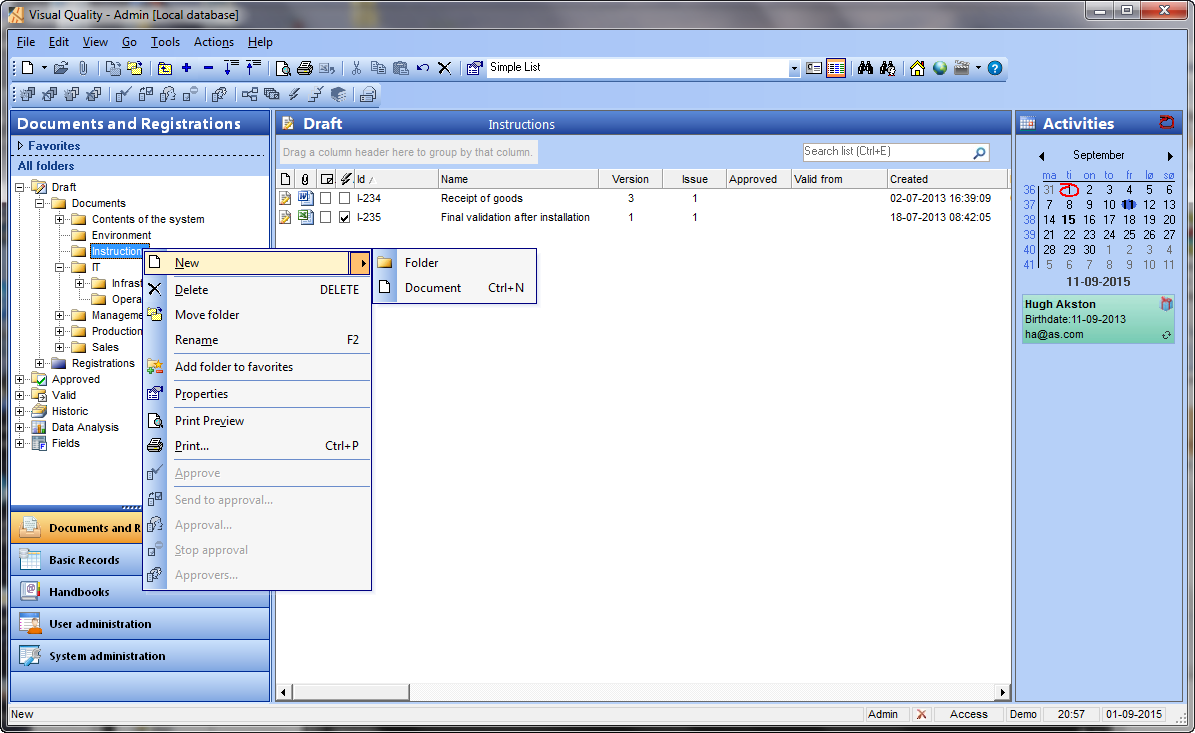
Choose New -> Document in the context menu. The data sheet for the new draft document is shown. Enter the data for the document as shown below.
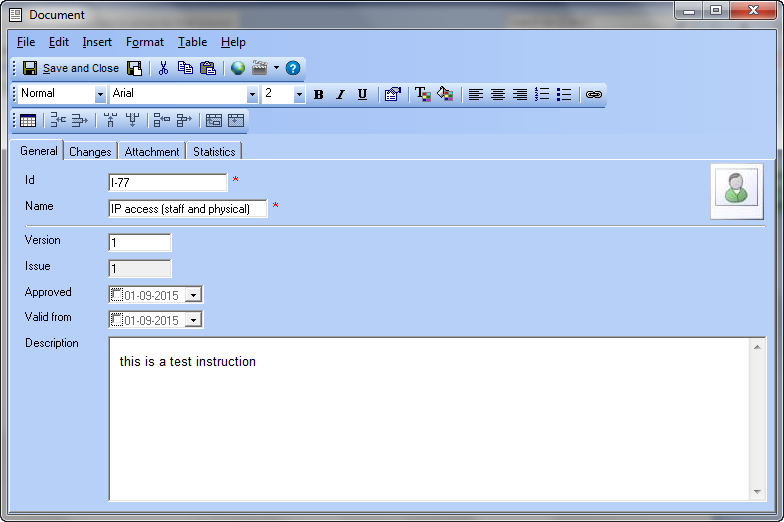 |
. |
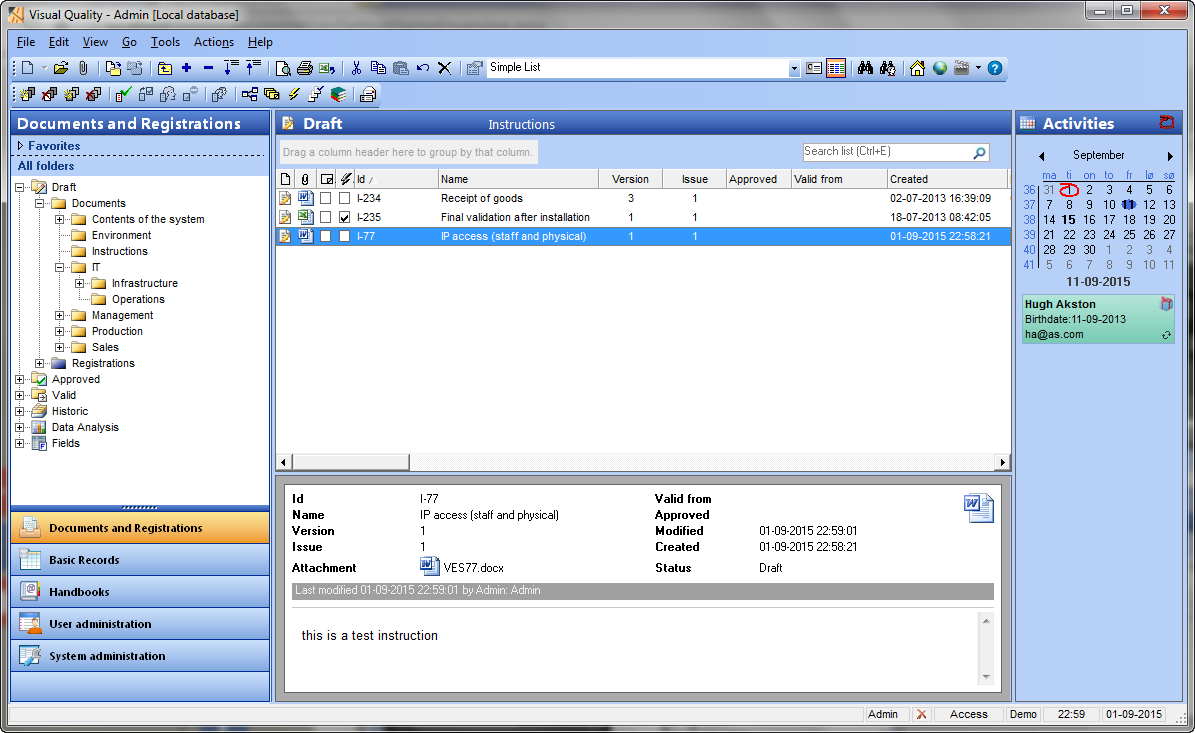
Click Save and Close to save the document and close the data sheet. The newly created document is shown in the list.
We will now create an attachment to the document. Right-click the dokument, and select Document -> Import... in the context menu. The Windows File Open dialog is shown. Choose a file on your computer and click the Open button. In the example below we have imported a Word document.
4. Approve the document
Now we will approve the document. Visual Quality offers two types of approval processes: simple approval, where only one approver is responsible for the approval of documents and registration folders and advanced approval where two or more approvers are involved in the approval process. By default Visual Quality uses simple approval.
Right-click the document and select Approve in the context menu. Now you see this dialog:
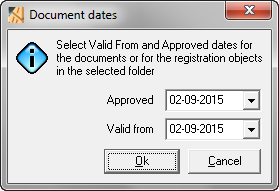 |
Here you can specify the approval date for the document as well as the date when the approved version will be valid. Keep the default dates (current date) and click Ok, and in the dialog that follows, enter your password to confirm the approval.
Document version 1 has now been approved and a new
draft document with version 2 was automatically
created in the process.
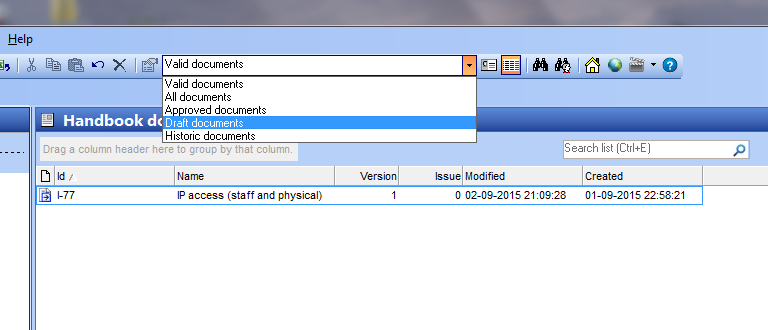
In the navigation menu to the left, navigate to the
folder Instruction in the module Valid.
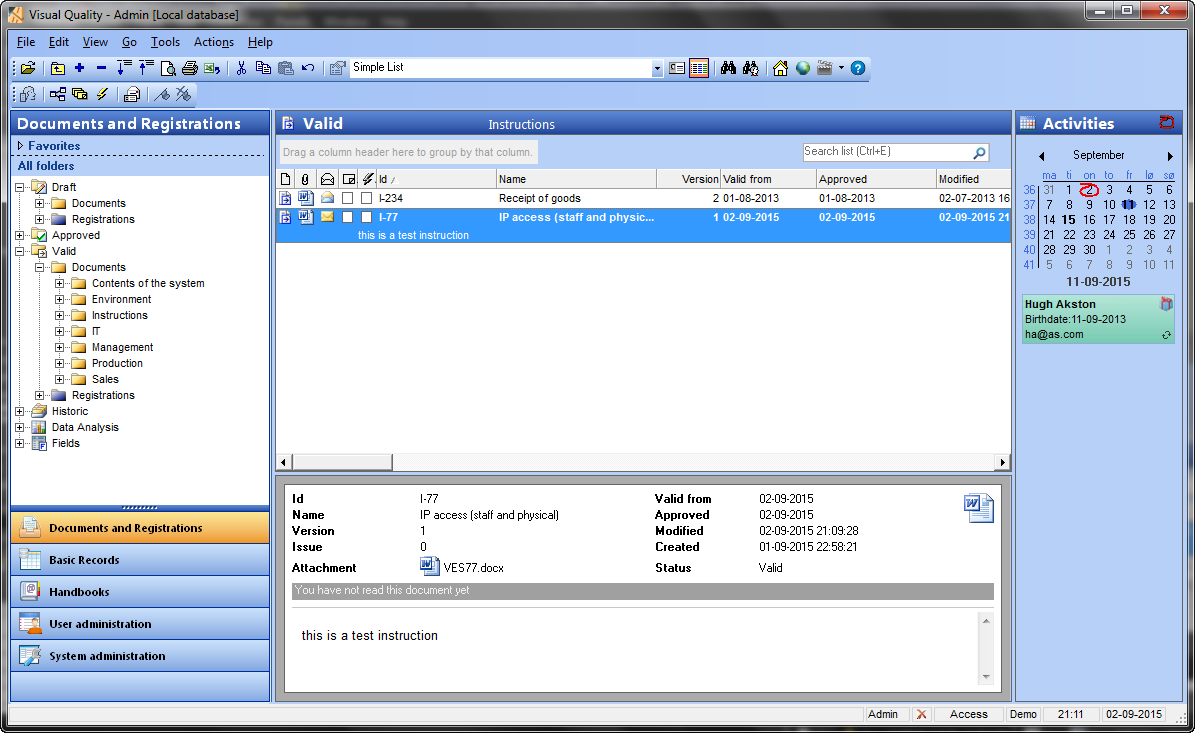
You can of course find the same version of the document in the module Approved, since the approved version is also the valid version of the document.
Select the approval date for the document in the activity panel's calendar to the right. Under the calendar you can see the newly approved and valid document.
In the following we will create a handbook in Visual Quality and add the document to it.
5. Create a handbook
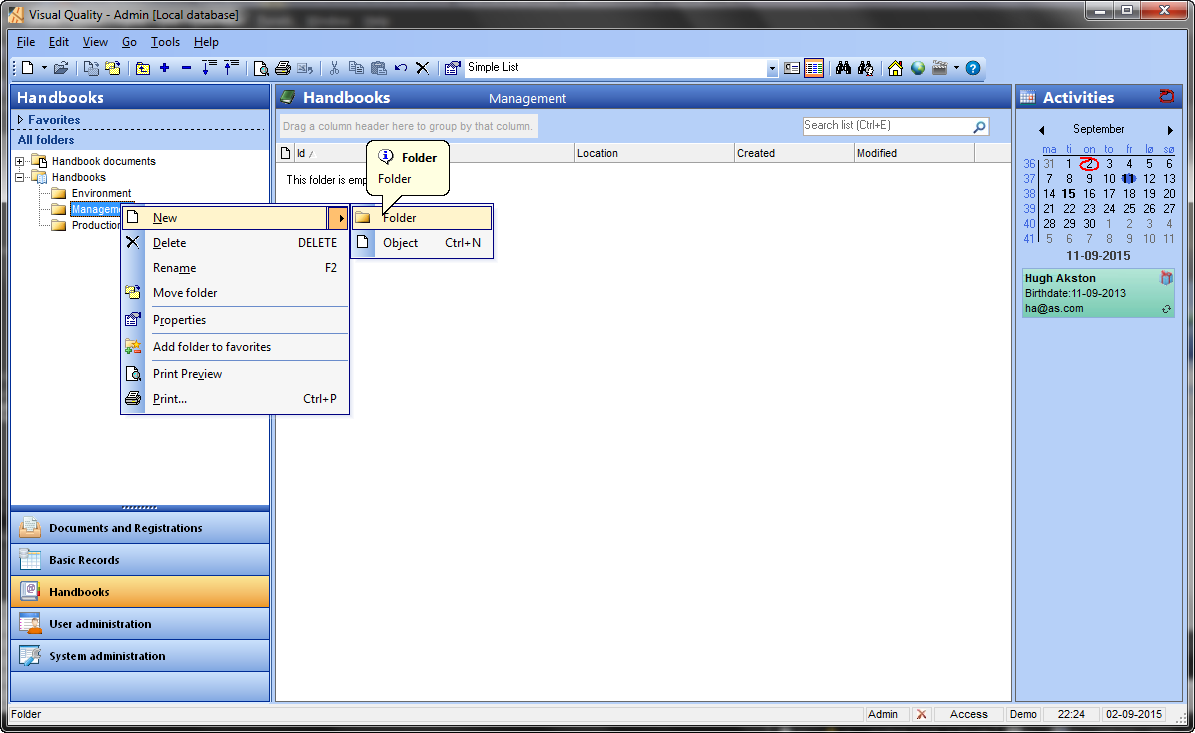
Click the menu Handbooks in the navigation panel. In the folder structure, click the root folder Handbooks. As it appears, the Visual Quality Demo databases already contains 3 handbooks. We will now create a handbook folder under the handbook called Management.Right-click on the handbook and select New -> Folder in the menu:
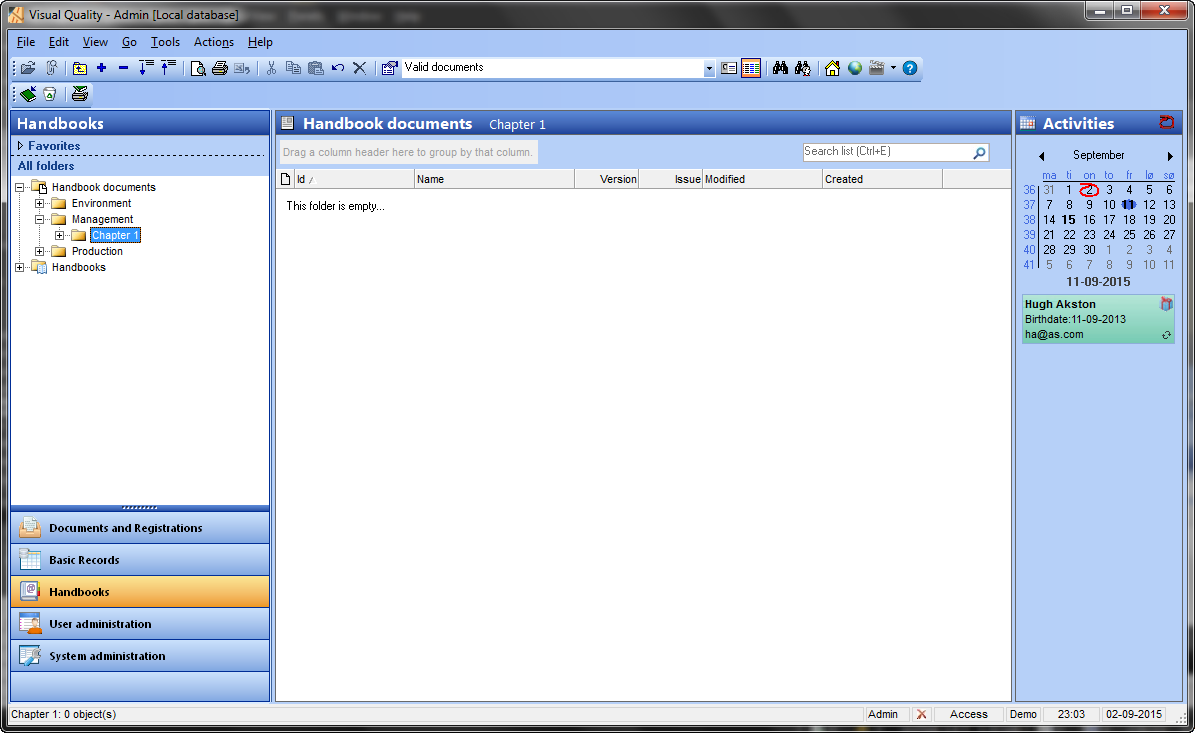
6. Insert the document into the handbook folder
Now we will add the document to the handbook folder we just created.Expand the folder Handbook documents. The newly created handbook folder is shown here as well.
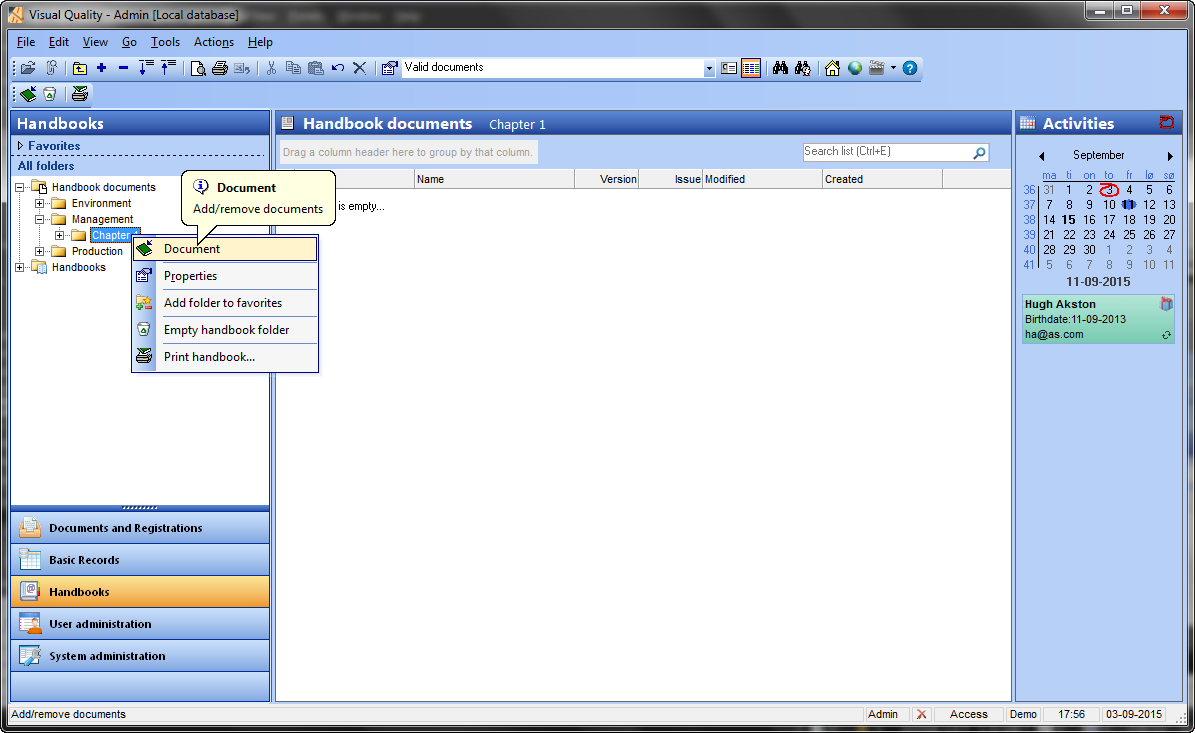
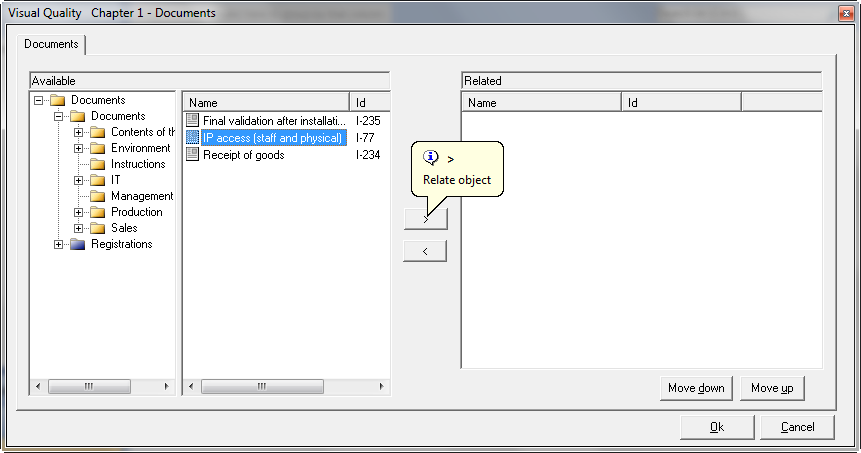
 |
In the following we will make the valid version of the document visible to the web users, through Visual Quality Web Access.
First, however, we must create and configure the web application.
7. Create the Visual Quality Web Access web application
If you have selected a client/server installation above, you must create and configure Visual Quality Web Access on the server.
This page shows how easy it is to create and configure the web application on your computer. The guide is identical for installation on the server in a client/server setup and on a computer in a single computer/single user setup.
8. Log on Visual Quality Web Access
After creating and configuring Visual Quality Web Access, you can access the web sites directly. Log on with the administrator user as used above:
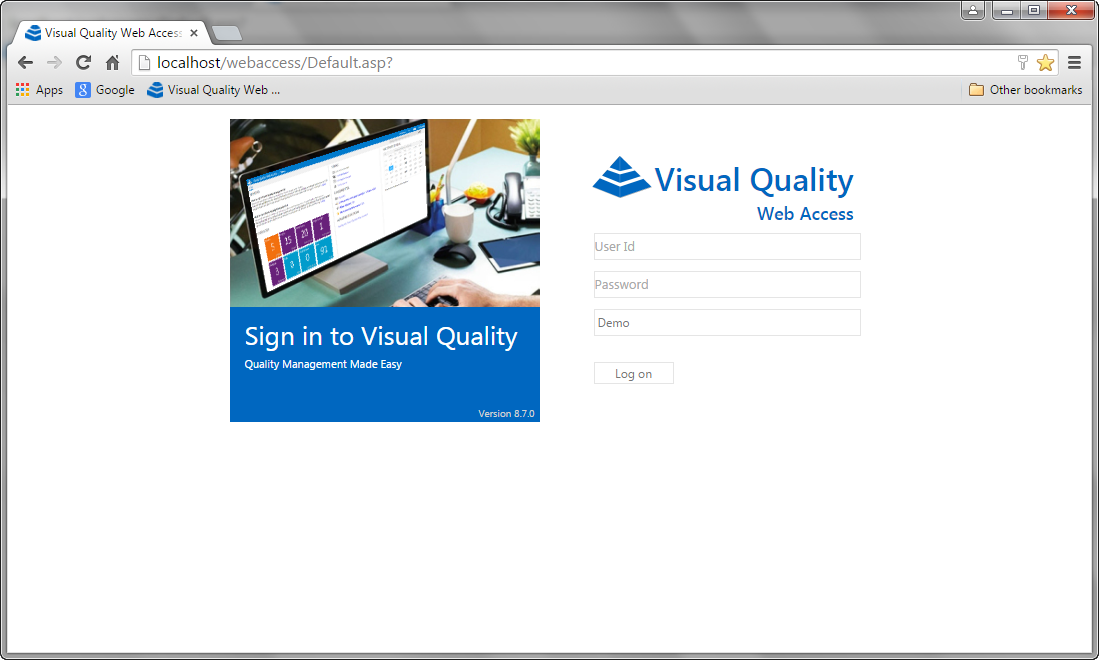
After clicking the Log on button, you are redirected to the Start page:
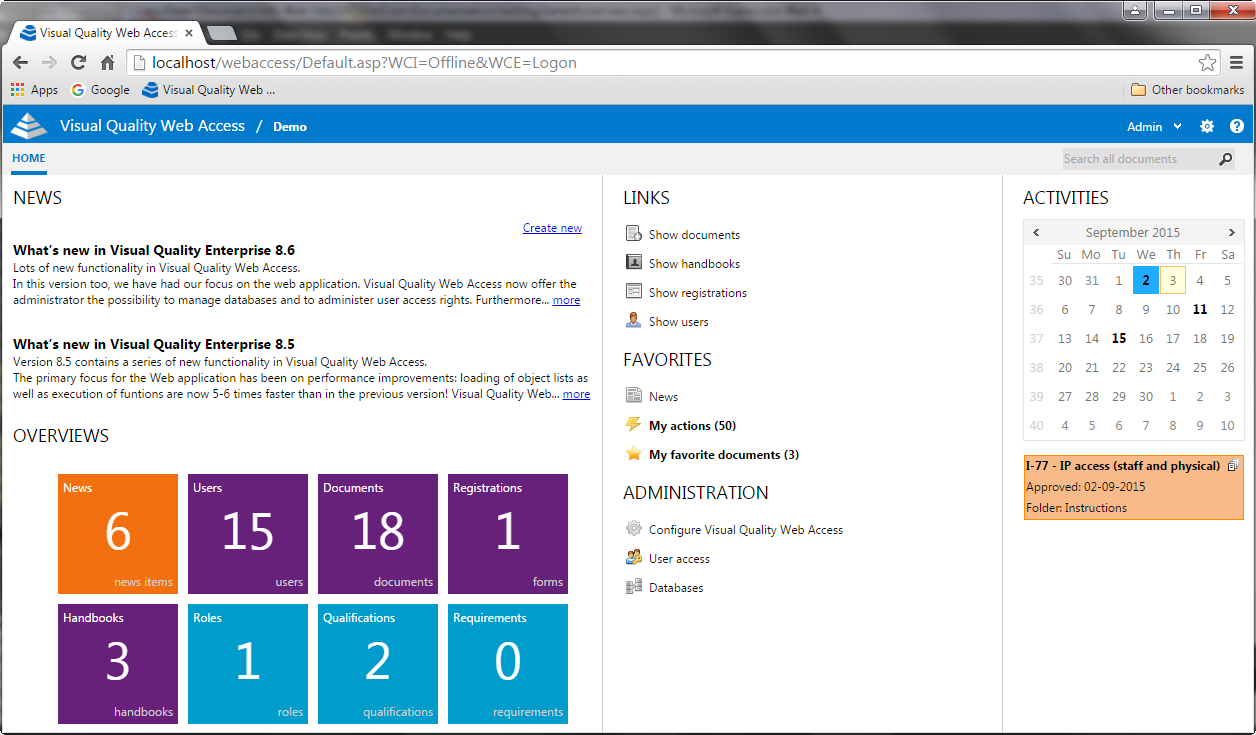
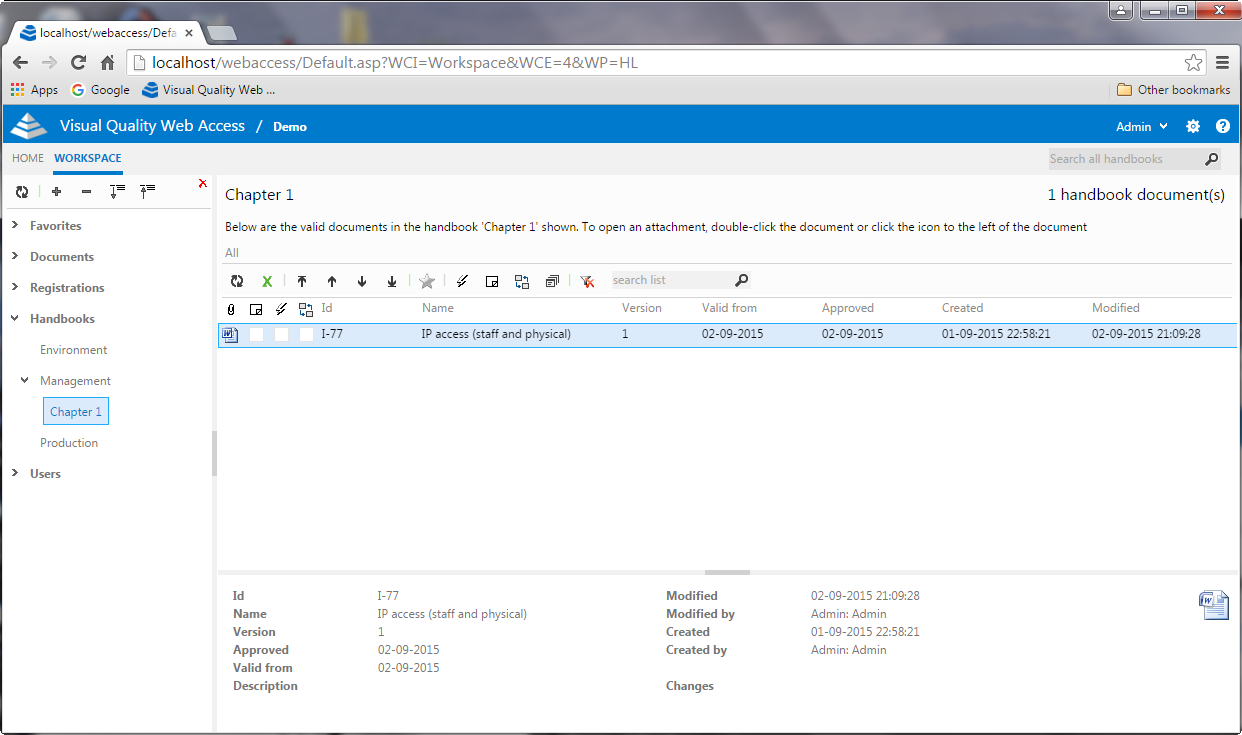
In the reading panel below you can see the details for the selected document. You can open the attachment for the document by clicking the document icon in the list or in the reading panel.